android app for spring backend,
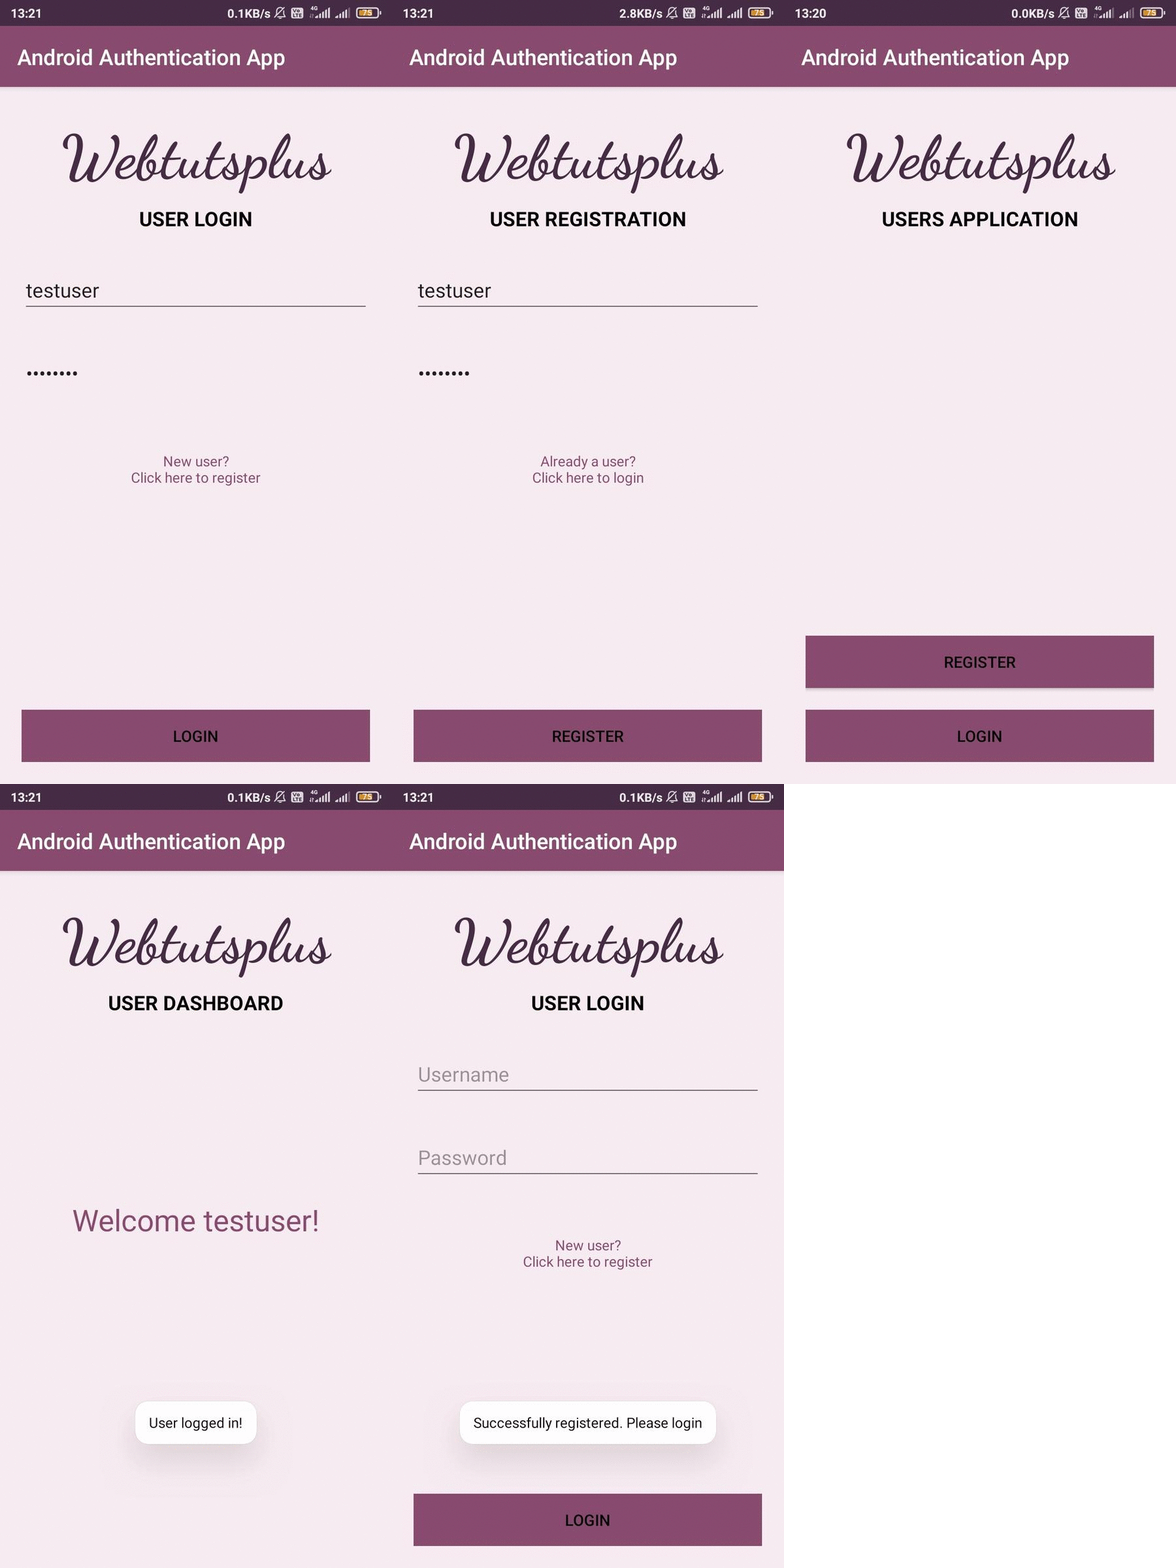
We are going to build an android application that authenticates its users through a RESTful service using Java and Retrofit tool.
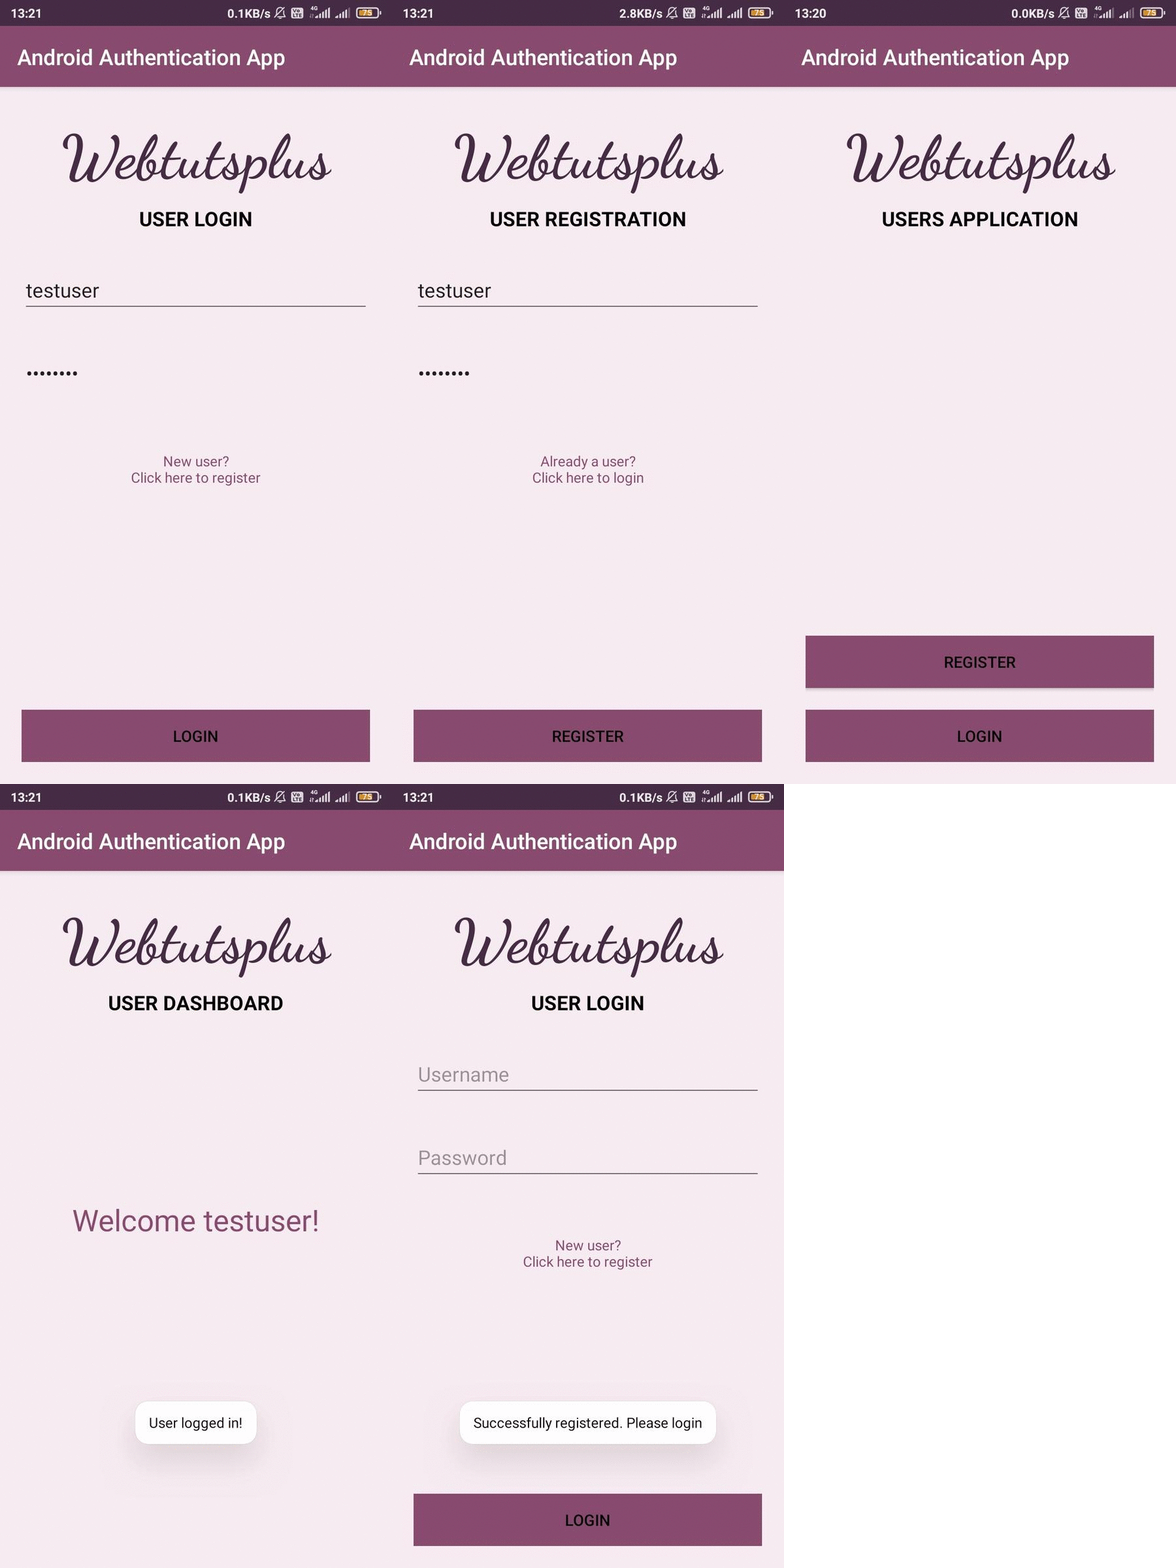 android UI for Java springboot Login backend
User Authentication
Whenever we plan to build a virtual platform for our users, the basic requirement is to maintain the data of the users and ensuring them a secure place to provide their data for us to process. The same corresponds to an android application too.
In this tutorial, we are going to build an android application that authenticates its users through a RESTful service using Java and Retrofit tool. The RESTful service accessed here is built using Spring boot and its tutorial can be found here. A Simple User Authentication API made with Spring Boot These days its easier than ever to make a proper application that can do what you need it to do. There are thousands of…medium.com
And also, we need to host our Spring Backend to the cloud, to access that as a RESTful service. The tutorial for the same can be found here. How to Publish Your Spring Boot App to the Cloud Introductionmedium.com
The bitbucket repositories for this tutorial can be found below in the resources section.
Requirements
Android Studio
Android Virtual Device (AVD)
Android SDK Tools
Cloud hosted Spring Backend
Retrofit
Steps to setup your work environment in Android Studio can be found here.
Project Creation
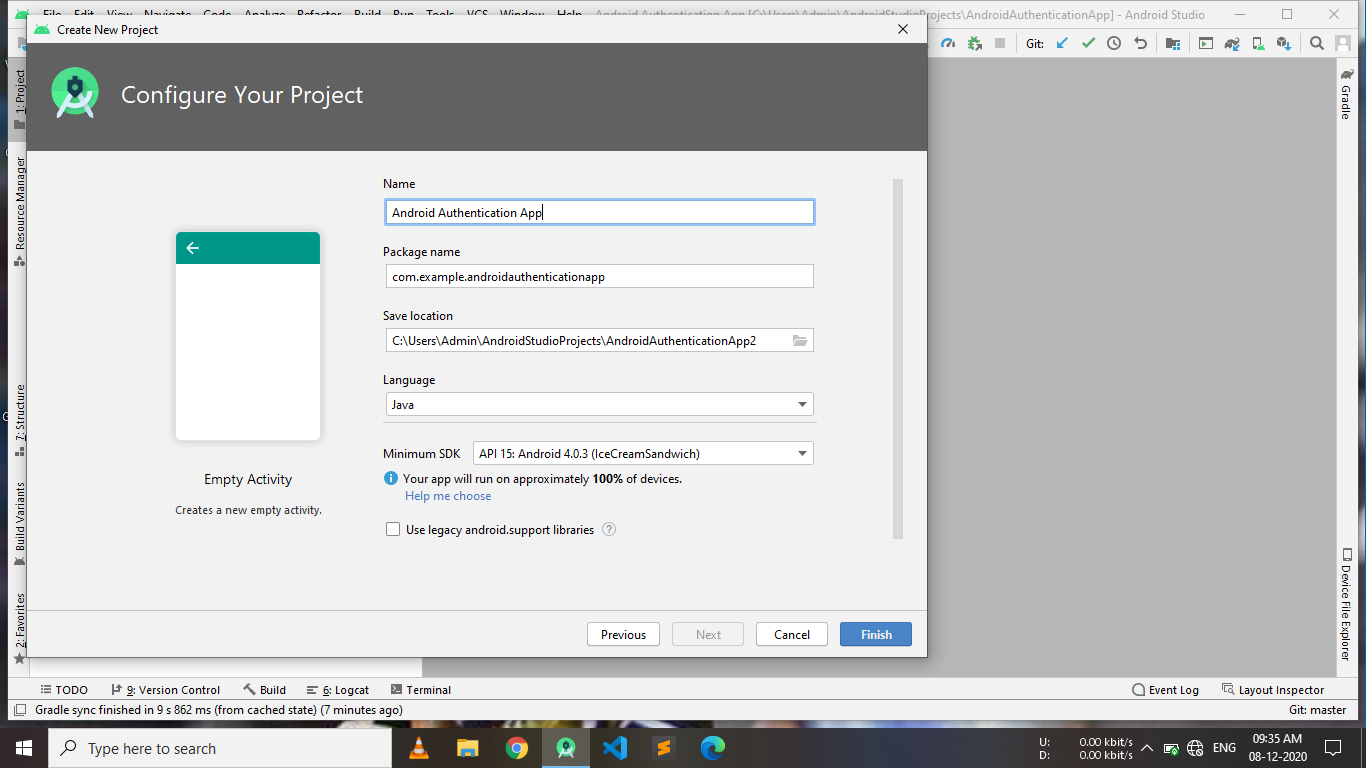
After completing the IDE setup, open Android Studio -> Click on New Project -> Select empty activity -> Select Java for Language -> Select android SDK such that our app runs on all devices -> Click on finish -> Wait until all the gradle scripts get downloaded. We can start working on our project at once the build is successful.

Creating Activities
Activities are the basic blocks to build an android application. Go to java main package where you can find the Main Activity, which is the entry point for our application. We need three more activities for our application. We can create an empty activity by following the given steps: Right click on the package -> New -> Activity -> Empty Activity. By following these steps, make the following activities -
Register Activity
Login Activity
Dashboard Activity
Each activity will be individually having a layout file in xml which is used to create the User Interface for our application. The layouts can be found in the main > res > layout folder.
Dependencies
We need only two additional dependencies to make this application. One is the Retrofit dependency and the other is the Gson converter dependency.
implementation ‘com.squareup.retrofit2:retrofit:2.4.0’

implementation ‘com.squareup.retrofit2:converter-gson:2.4.0’
Copy paste the above two lines to the dependencies section of app level gradle file and sync the project to get the dependencies.
Retrofit is the REST API client that can send requests and receive response from our RESTful service. Gson converter is used to send and receive data as JSON (JavaScript Object Notation)
Permissions
As our application is simply aimed at communicating with the REST API, which is hosted on the Internet, we need Internet permissions only.
<uses-permission android:name="android.permission.INTERNET" />
The above line should be inserted as a tag in the app/src/main/AndroidManifest.xml. The complete file is as below -
Setting up the Files
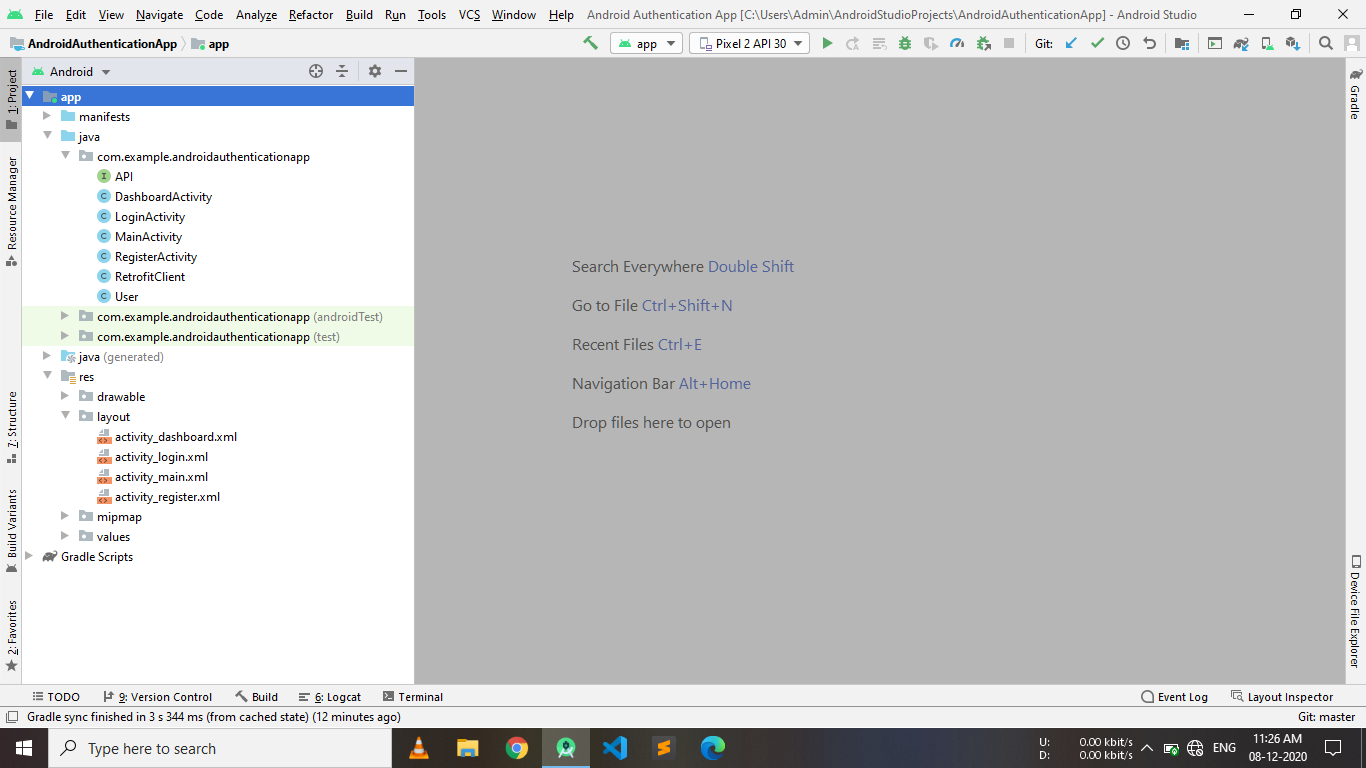
We need to create two classes and one interface in the main java package where our activity classes reside, to make our application fully functional.
Create a class and name it as User that acts as a model. It contains a username and password. We will be sending the User object with the request for registering or login.
Create an interface and name it API to handle the requests and responses. The API object will be created by the retrofit.
Create a class RetrofitClient that performs all the operations of a REST API client i.e. sending requests and receiving responses. It is a singleton class.
Successfully, we have completed the basic file setup for our project. Now, our project hierarchy should be as below
Setting up the Navigation through Activities
Before stepping into the navigation of our application, construct the User interface for the activities using constraint layout with the help of xml files here.
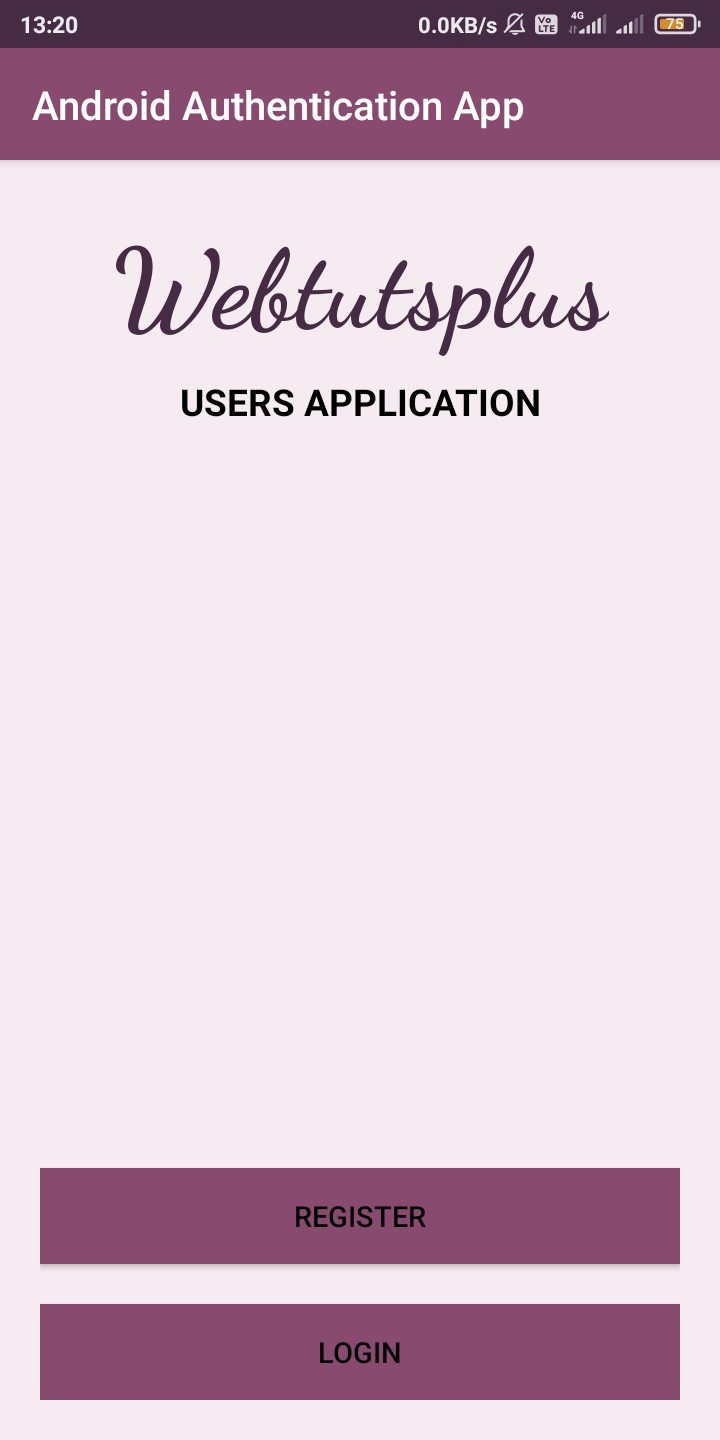
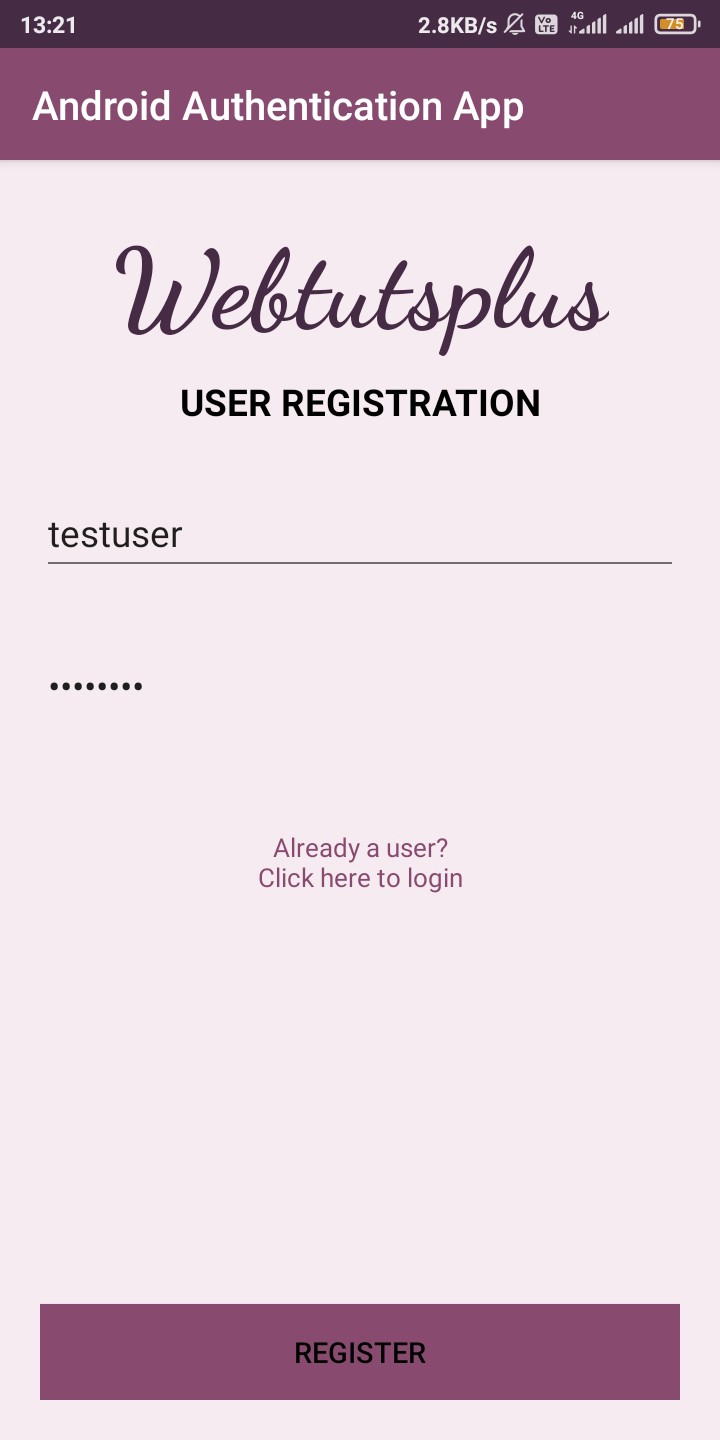
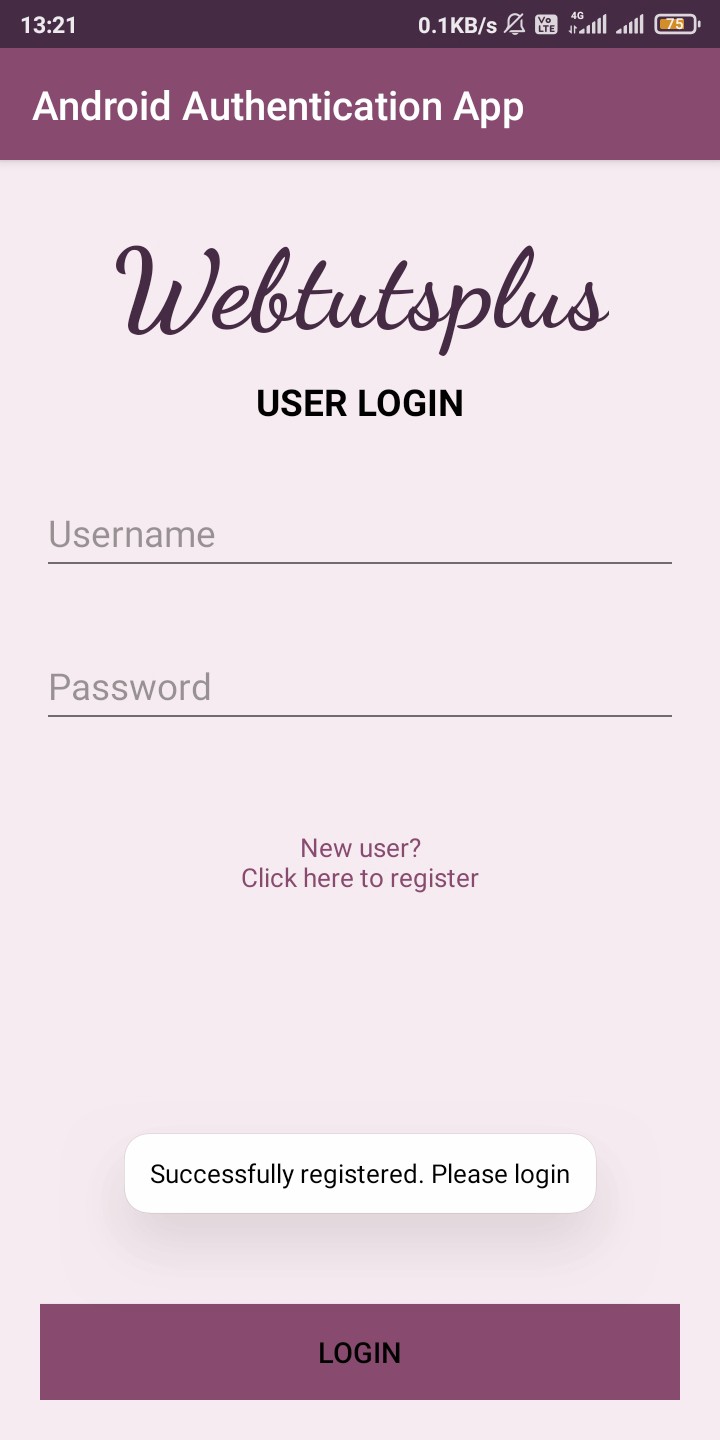
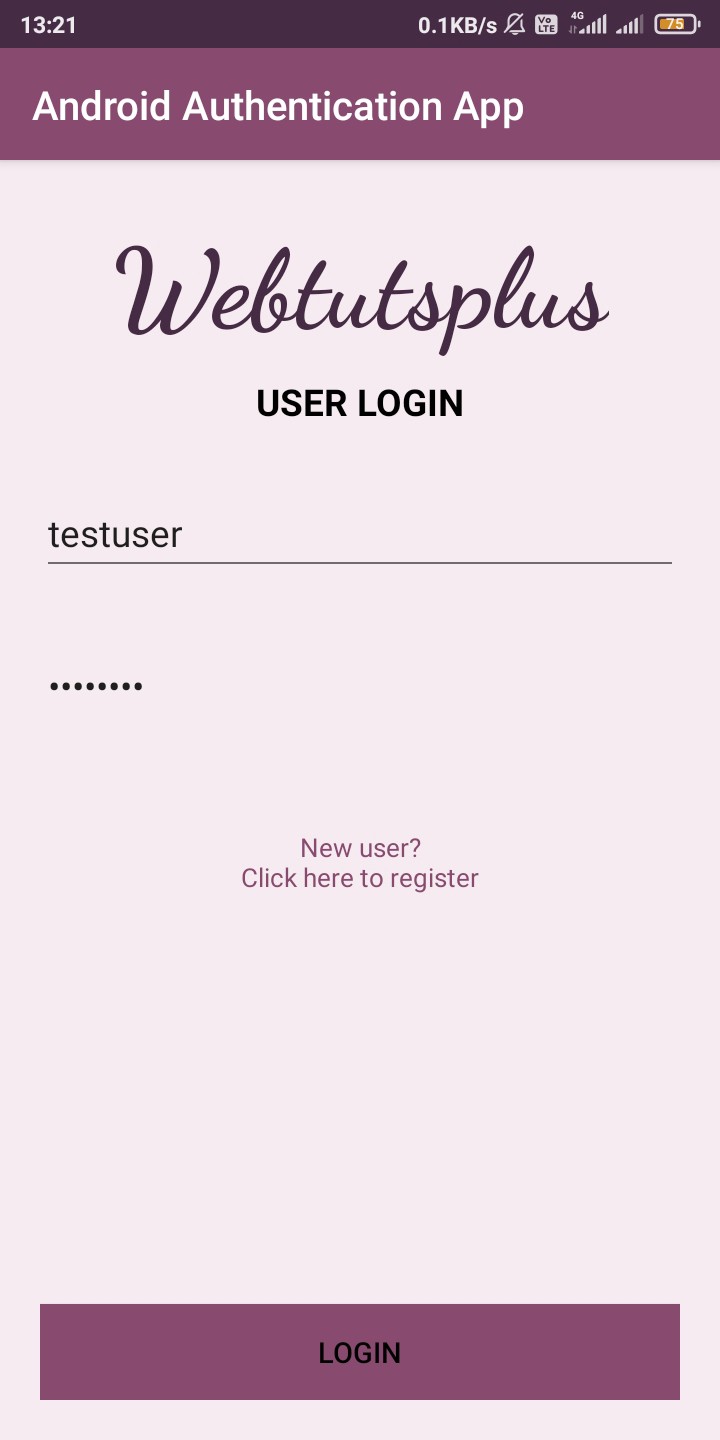
Our Main activity will be displaying the buttons to register activity and login activity. New users must register themselves by clicking the register button. When they give the credentials and click on register, the user data will be sent to the Spring Backend that is hosted and gets stored. After that, the app navigates to the Login activity. When the user credentials sent through the Login Activity is checked correct in the Backend, the user gets logged in and is navigated to the dashboard. The dashboard activity displays and welcomes the user.
If the user gives wrong credentials or invalid credentials, they are intimated through Toasts.
The navigation from one activity to another activity can be achieved through intents as below-
startActivity(**new** Intent(FromActivity.**this**, ToActivity.**class**));
Intents get two arguments. One is the context for which the activity object can be passed. The other is the class of the activity to which the application navigates. This navigation should be done on button clicks. Therefore we need to add OnClickListeners to the buttons.
findViewById(R.id.btnToRegister).setOnClickListener(**new** View.OnClickListener() {

@Override
public void onClick(View view) {

startActivity(new Intent(MainActivity.this, RegisterActivity.class));

}

});
The above code snippet adds OnClickListener to the button. By overriding the onClick() function, the app navigates from Main Activity to Register Activity.
Register and Login activities use the retrofit client to communicate with the Spring Backend. They create an object for User class with the credentials given by the user and send that through the retrofit client. Based on the response from the Backend the android application navigates. The files that deals with the API are as below-
For user registration-
For user login-
Hurray! We have completed the coding for our application! It is time to run our application.
Running the Application
Running our application is so simple that we have to just click the run icon on the toolbar of Android Studio. Once the build is successful, the application will be deployed in the selected Android Virtual Device (AVD). Navigate through the application and check whether all components are working properly. The output will be as below -
The Main Page
Registration
Login Page
The Dashboard

Resources
Bitbucket link for Spring Backend Project Repository
Bitbucket link for Android Application Project Repository
Spring Backend hosted on cloud
Tutorial for the creating Spring Backend API
Tutorial for hosting the Spring Backend API to cloud
And that’s it for this tutorial. Hope you have learned many things from this. Keep following us for such awesome tutorials.
Happy Learning!
